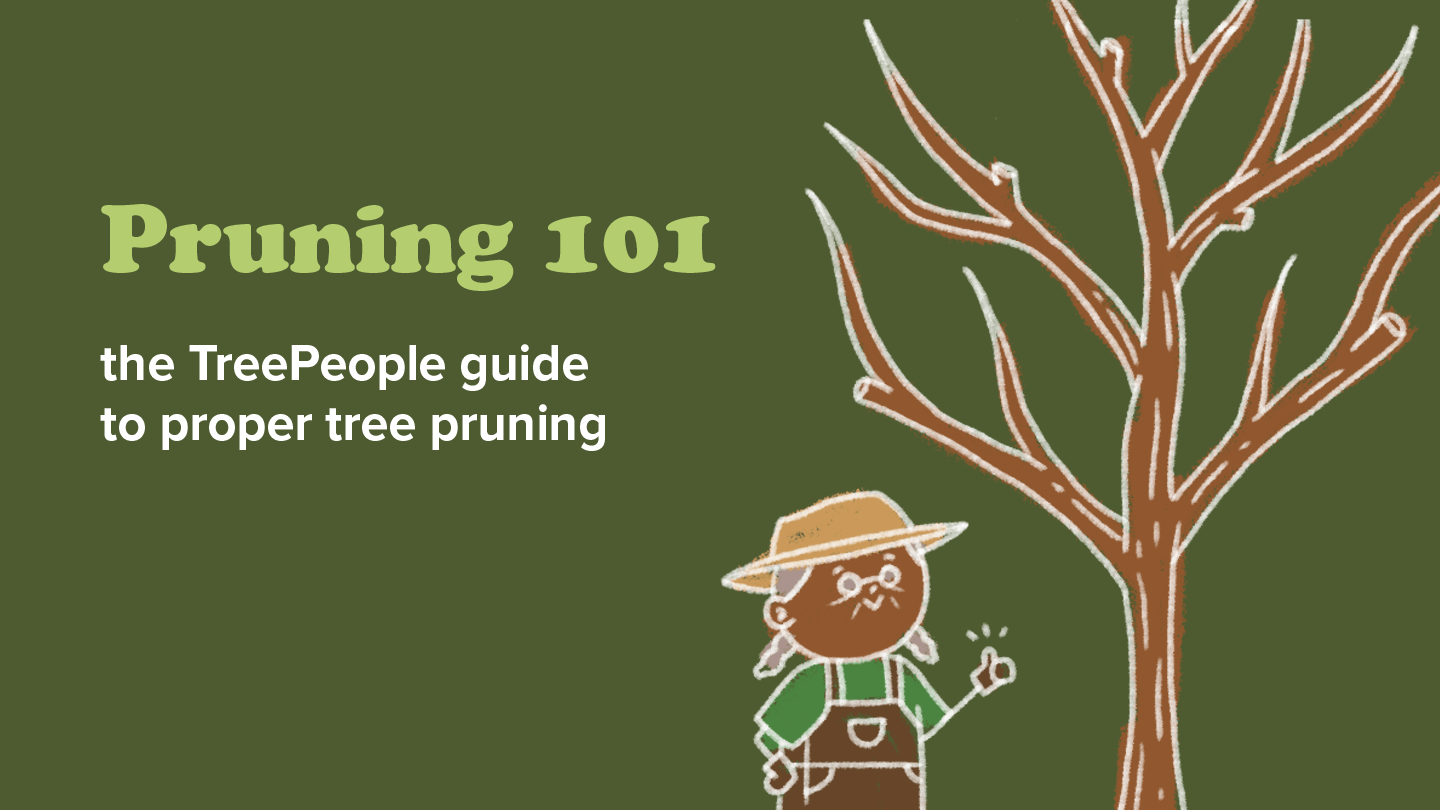
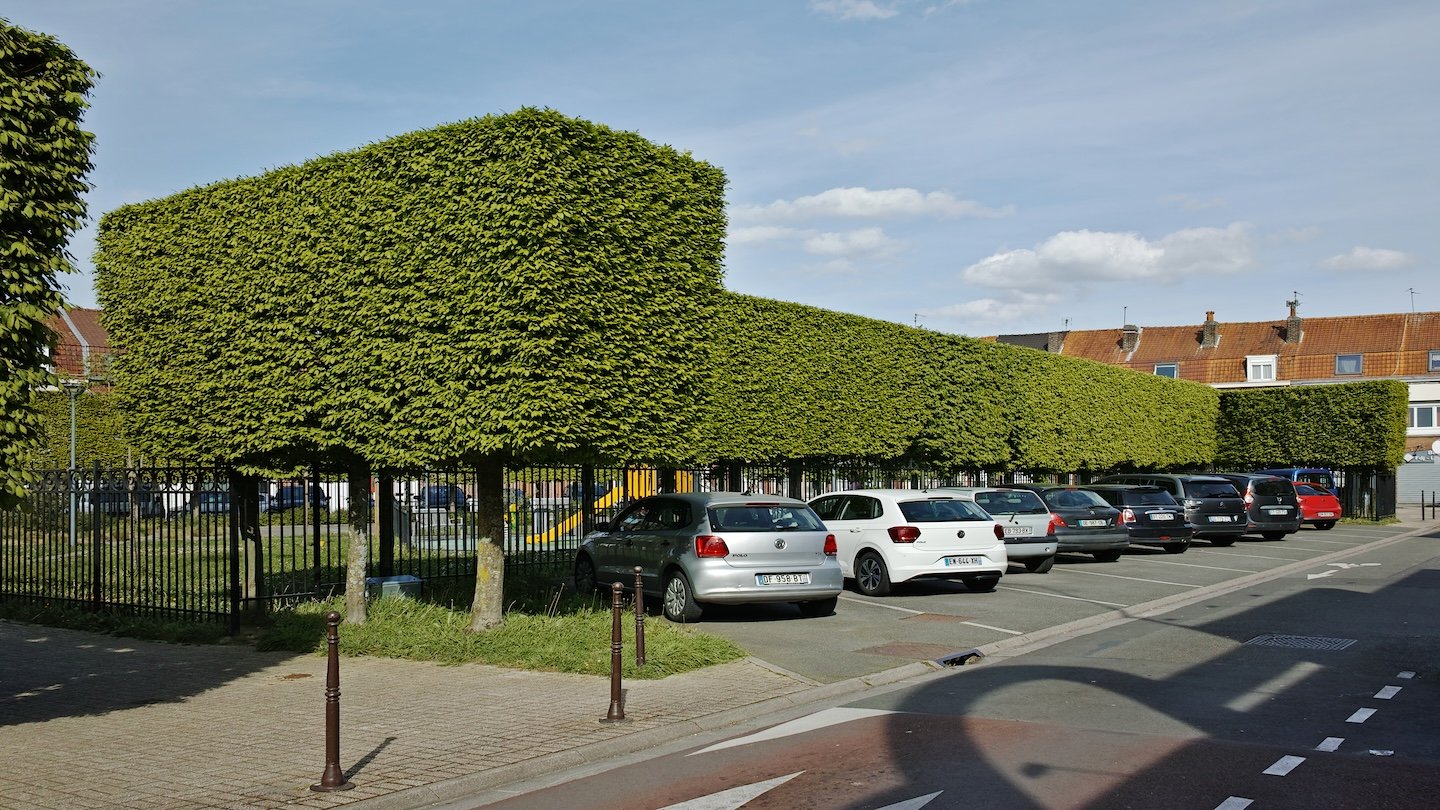
If you’re a homeowner, a landscaping professional, or someone who just cares a lot about the health of your local trees, you’re probably familiar with the practice of pruning.
In its simplest form, pruning involves removing branches from a tree for a specific purpose. But how often should you be doing this? Which branches should be removed, and when? And is pruning actually beneficial for plant health?
Some of the answers are more complicated than you might think—and understanding proper pruning techniques can have a major impact on the health of our urban forests. Here’s a quick and easy breakdown of what you need to know before you bust out the shears.
1. Trees don’t need to be pruned regularly
Many people believe trees need pruned every year to remain healthy—kind of like when a human gets a haircut to remove split ends. But that’s actually not true!
In fact, when trees are over-pruned, it can cause them to push out excess, weakened shoots called “watersprouts”—and this can result in more work for you or your gardener over time. But, there are a few cases in which pruning might be helpful.
When trees are young, with branches less than 3” thick, they might benefit from some structural pruning. This helps ensure that the tree develops a primary “leader,” or trunk, and that the main branches are well spaced along that trunk.
Once trees mature, however, pruning should only happen only on an as-needed basis. The easiest way to know when to make a cut is to follow The Four D’s. Only remove branches that are:
Dead: If you’re unsure if a branch is dead, simply scrape away a small part of the bark. If it is alive, it will be soft and green underneath. If it is dead, it will be hard and brown, and you can remove it. In some cases, when it doesn’t create a hazard, dead limbs can be reserved, as they are often used as cavity nesting sites for birds and other urban wildlife species
Diseased: Sometimes diseased areas are obvious—leaves may be wilted, or branches will lack bark. Other times, you may have to inspect the tree more closely—look for leaves with spots or sunken branch areas that are oozing or discolored. Prune the diseased branch back to at least 6 inches below the diseased area into healthy wood.
Damaged: Broken and injured branches open the tree up to pests and disease. Make a clean cut back to a bud on a young stem, or to the larger branch the damaged branch is connected to. You can also remove the branch entirely.
Deranged: As branches grow they might cross and rub against each other, which can result in abrasion and wounding. This chronic wounding invites infection and lures in pests. Branches can also rub against fence posts, gates, stakes, or any other hard surface. When pruning deranged branches, choose one to keep, and cut the others away.
2. Not all pruning techniques are created equally
In addition to knowing when to prune, it’s important to know what style of pruning is best suited to your tree and its conditions. Some common pruning techniques can actually do more harm than good. Here are a few you should be familiar with:
Natural pruning: This is a similar pruning style to the one described above, in which branch reductions and removals promote the natural characteristics of a tree while eliminating poorly spaced, deranged, or dead branches. The goal is to remove only areas that might cause stress to a tree, while leaving enough foliage so it can thrive.
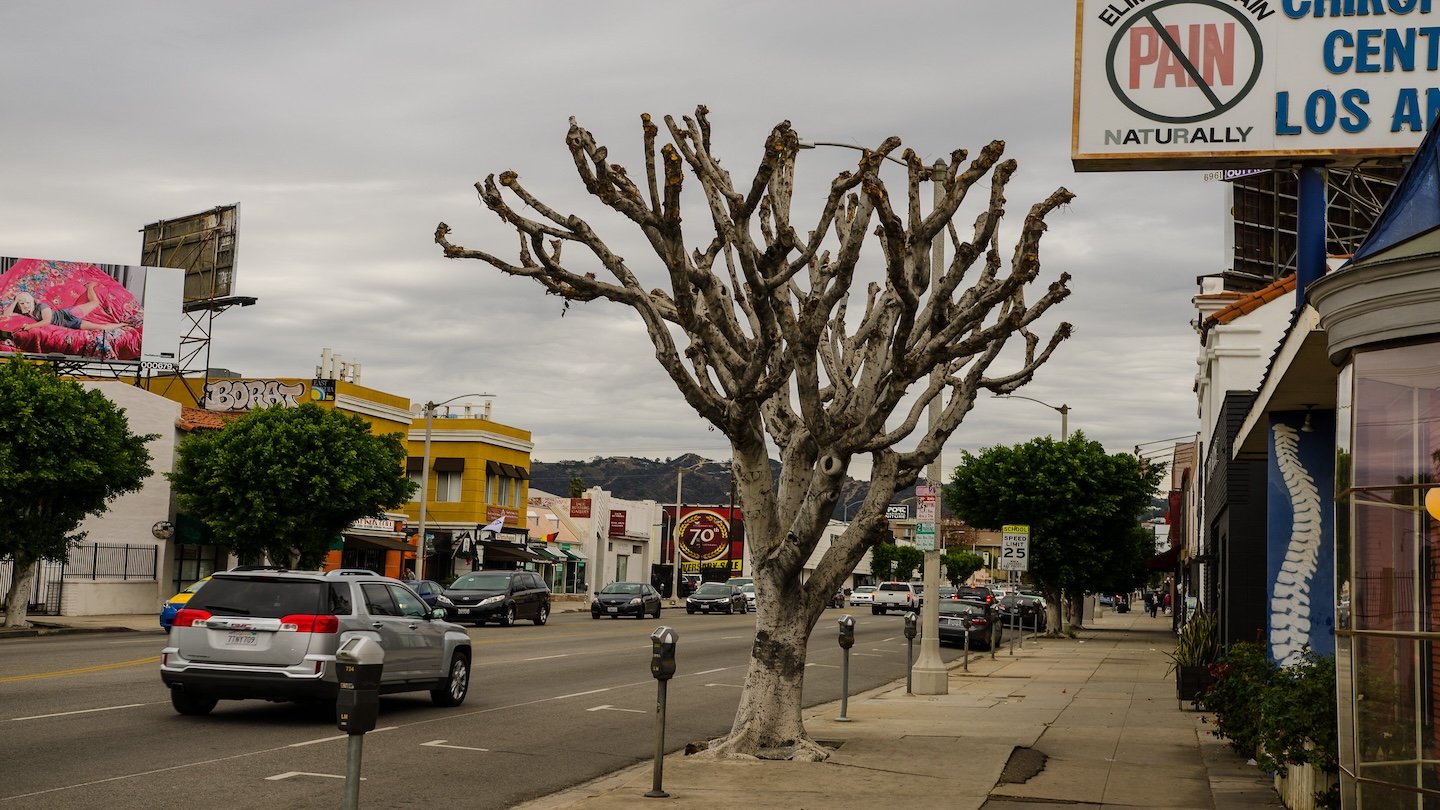
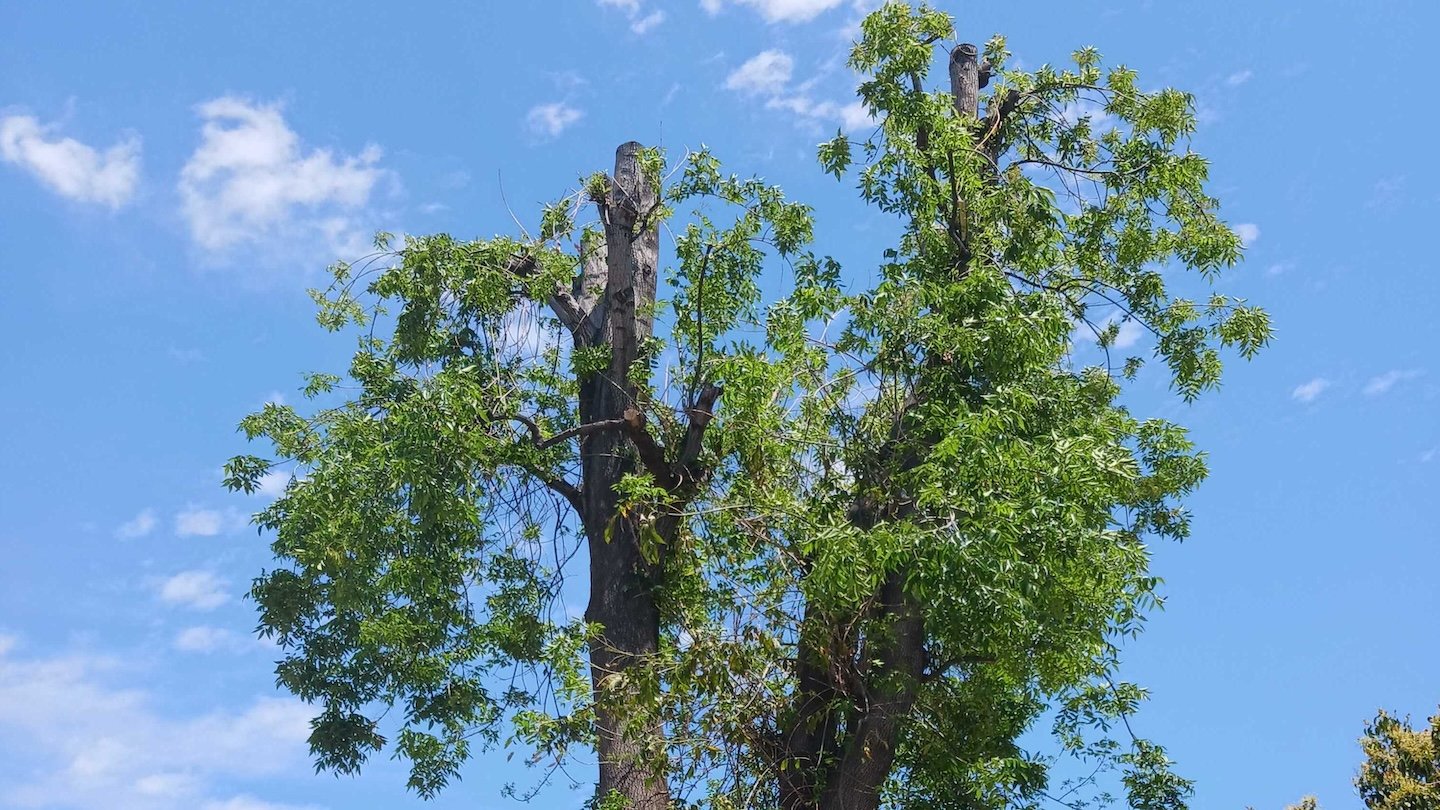
Topping: Topping is a practice that involves cutting away all or most of the upper branches and leaves on a tree’s crown—aka its top. While it’s commonly used in urban areas, it can be incredibly harmful, leaving plants susceptible to starvation, disease, disfigurement, and even death. On top of that, it also destroys critical shade infrastructure that keeps our communities cooler.
Unless your tree is growing dangerously close to a utility line or has been damaged to a degree that it might harm people or property, we recommend steering clear of this technique altogether. Tell your friends, neighbors, gardener, landlord, and city officials to #StoptheTop!
Pollarding: Pollarding is a long-term management practice that can look similar to topping on the surface, but there are some key differences. Most notably, pollarding begins when a tree is young, or on young parts of mature trees, where limbs are less than 2 inches in diameter. The tree is trimmed to the desired height, and the sprouts and buds that grow back are removed annually, resulting in a mass of callus tissue from which new sprouts emerge.
This technique allows new growth to re-sprout in a designated spot, so it does not fail or overcrowd the growth point. However, only certain kinds of trees—usually vigorously growing deciduous species—can handle this cosmetic practice, and the pollard heads must never be wounded when pruning off the annual shoots.
Topiary, Espalier & Bonsai: These less common ornamental styles involve limiting the size of trees and tree-like shrubs, or significantly altering their natural shape. They require patient long-term maintenance and careful planning, and should usually only be used for species that can tolerate potentially stressful practices.
3. It makes a difference when you prune

Generally, the best time to prune any species is during its dormant period, or before budbreak. However, this varies widely from species to species and climate to climate, so it’s important to research what will work best for your tree.
In California, it’s typically best to avoid pruning during extreme heat. Over-pruned trees that get too much sun exposure can even get “sunburned,” resulting in the death of functional growth cells on the limbs. No matter what time of year it is, you should refrain from pruning trees that are drought-stressed. But keep in mind that some trees, like oaks, are dormant during the summer, so (carefully!) pruning them during that season might be preferable.
Other considerations—like invasive pest populations and the desire to eliminate nuisance fruit and flowers—might also factor into when you choose to prune.
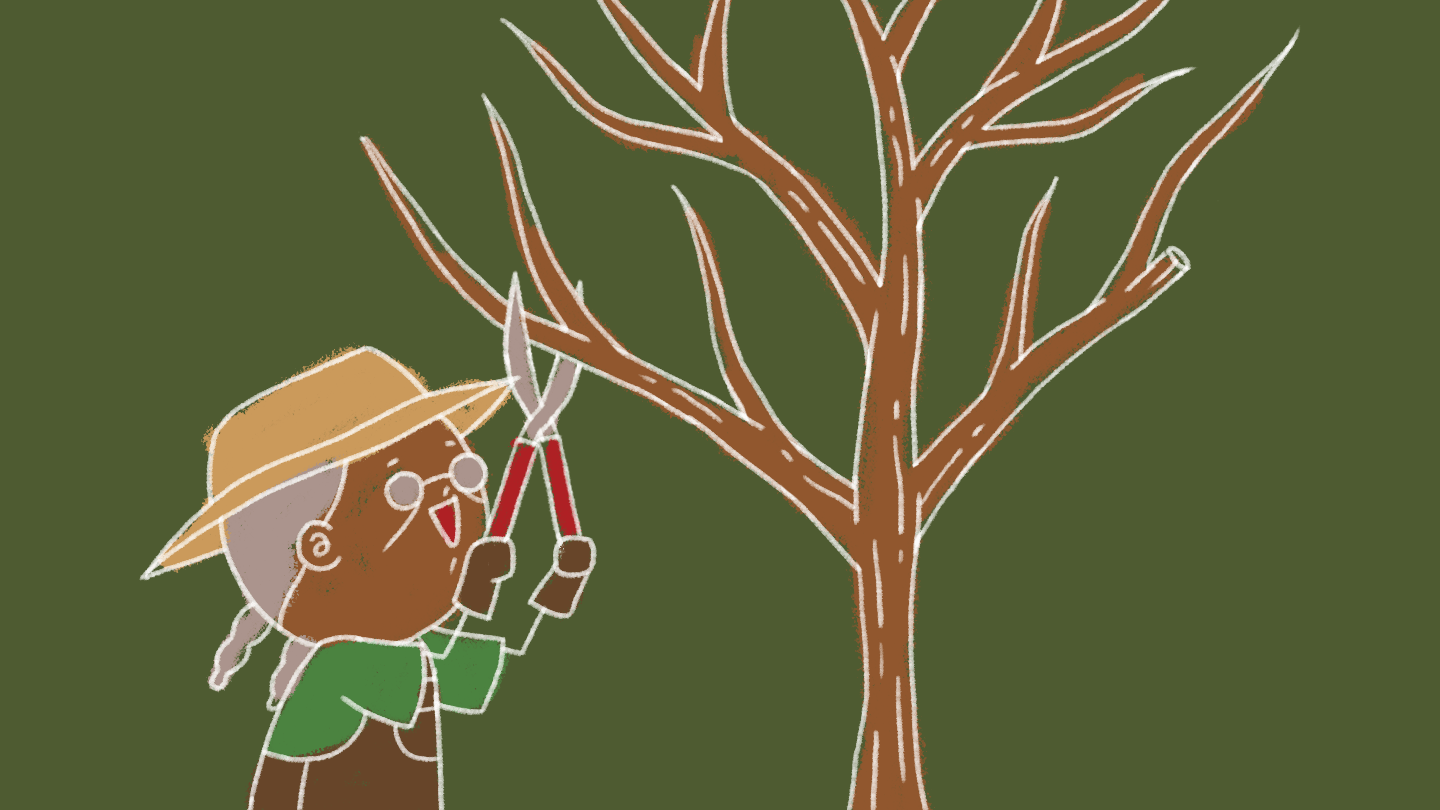
4. Make your cuts with care
There are two main types of pruning cuts you should be familiar with.

Removal cuts are used to remove entire branches to maintain the tree’s health and structure. They should be made just above the small bulge at the base of the branch, also known as the “branch collar.” Cutting outside of this bulge helps keep the size of the tree’s wound small.
Reduction cuts are used to shorten a branch. To make one, you’ll need to locate a branch that is ⅓ or more the size of the branch you’d like to remove. Make a cut halfway between the bulge at the base of that branch and the diameter of the branch being removed. The goal, again, is to minimize the surface area of the wound.
You can see both types of cuts demonstrated in this handy video:
5. The proper tools make a difference
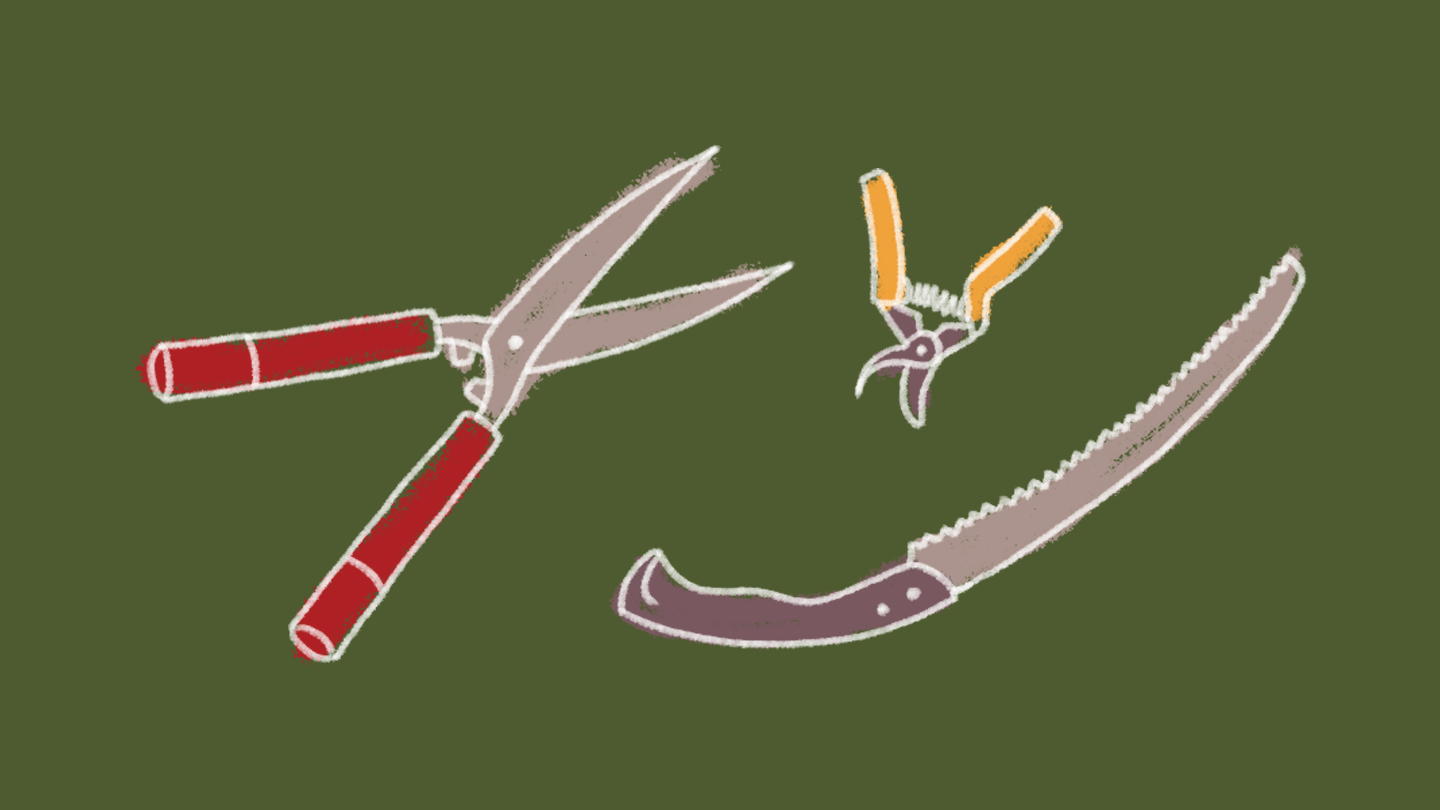
When pruning, it’s important to use appropriately-sized tools for the job—don’t use a chainsaw to cut branchlets, for example, as you’ll likely cause unintentional damage. You should also assure that your blades are sharp, so you can make a clean cut rather than smashing the tissue in with a dull pruner head. And clean, rust-free blades are critical—the pockets of rust can hold all kinds of bacteria.
Help spread the word!
Poor understanding of tree biology and misplaced aesthetic standards mean that all too often, these best pruning practices are not followed, even by professionals. So whether you plan on picking up the shears yourself or hiring someone to prune your tree, it helps to spread the word about how proper tree care can make our neighborhoods greener and healthier for everyone.

Share this information with your friends, neighbors, city officials, and landscapers—and if you see a tree that has been damaged by topping and improper pruning practices, give out one of our handy fliers.
Happy pruning!